During the month of April when things get pretty hectic due to state testing, I like to plan fun science lessons! And with Earth Day just around the corner what better time to focus on a topic that affects us ALL… Pollution and taking care of our beautiful blue planet!!!
In the past, I’ve shared with you some great websites on recycling that actually walk you through the recycling process from beginning to end (In a kid friendly manner, I promise). Talk about an eye opener for kids It’s good for them to see what happens to their trash once it’s picked up in front of their house. If you’d like to check those videos out, you can find them here.
If you’re looking for some fun recycling projects you can’t go wrong with any of the 10 ideas found in this post. And if you’re like me and absolutely love including snacks into your lessons, you can’t miss out on this mouth watering and fairly simple Earth Day Bark recipe. Trust me… you’re going to thank me!!!
Ok, Ok… let’s talk about today’s fun lesson! Today’s post is all about teaching kids about water pollution. A topic that I think is sometimes overlooked… especially in the primary grades. But what I’m sharing with you today is so doable with even younger kiddos, let’s say 2nd or 3rd grade.
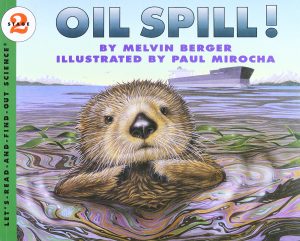
To activate the kids’ background knowledge and add some new schema I’d read the book Oil Spill! by Melvin Berger. This kid-friendly book is a nice way to introduce students to the Exxon Valdez disaster and the effects of oil spills and water pollution. It also goes on to talk about the damage that occurs and how to deal with an actual spill.
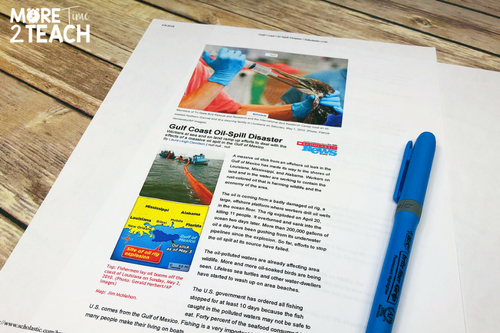
Another great text I found that addresses the Gulf Coast oil spill disaster is this article by Scholastic News. It’s a great informational text to read with students and have them annotate or highlight. I love the fact that its non-fiction, a genre that tends to be tricky for my 3rd graders. It’s also great to review those text features we talk so much about in 3rd grade.
Once your students have a good understanding of the disastrous effects of an oil spill, it’s time to get them experimenting!!! Let them see first hand how difficult it is to clean up an oil spill
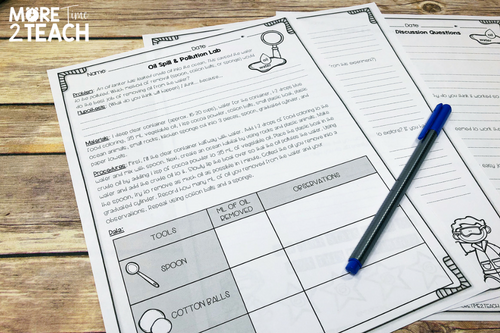
Don’t forget to practice those scientific method steps while you’re experimenting. These FREE lab sheets go perfectly with the experiment! I’ve even included a separate page of discussion questions for the kiddos to think about and answer. Have FUN LEARNING!
DOWNLOAD THIS FREEBIE NOW!

Simply enter your information down below and check your inbox!
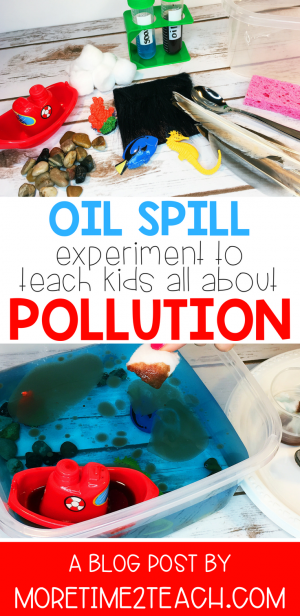
Oil Spill Experiment
The following materials are needed for the activity. There are a few extra supplies in the picture below just in case you’d like to extend the experiment… I’ll share more on that later.
Materials Needed:
- Water
- Blue food coloring- to make the water stand out a bit from the clear container
- Vegetable Oil
- Cocoa Powder
- Deep Clear Container
- Cotton Balls
- Plastic Mini Boat
- Plastic Ocean Animals
- Small Rocks/ Stones
- Sponge
- Spoon
- Plastic cup to put cotton balls in
- Paper Towels
- Optional- Dawn Dish Soap
- Optional- Bird Feather
- Optional- Animal Fur (the fabric kind, of course )

Setting Up:
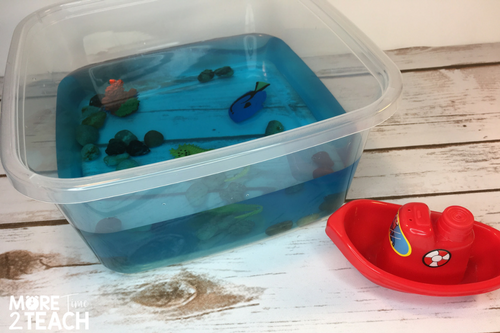
Fill the clear plastic container halfway with water and add 1-2 drops of food coloring. Mix with the spoon. Allow students to create their ocean habitat using the rocks and plastic animals. Next, add the boat to the ocean.
Adding the Crude Oil:

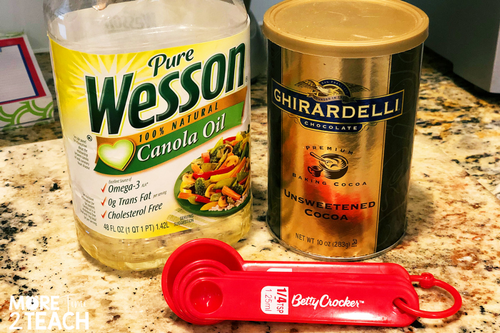
I found these adorable test tubes at the Dollar Tree. Just fill them up about 3/4 of the way with vegetable oil and scoop in a small amount of cocoa powder. You only need a little to give it that crude oil look. Then screw the lid on and shake. I would probably make the crude oil ahead of time to save some time and prevent a mess.
Fill the Tanker With Oil:
Have students empty the oil into the boat to simulate a tanker carrying crude oil across the ocean.

Oh NO!!!!! The Water Is Polluted:
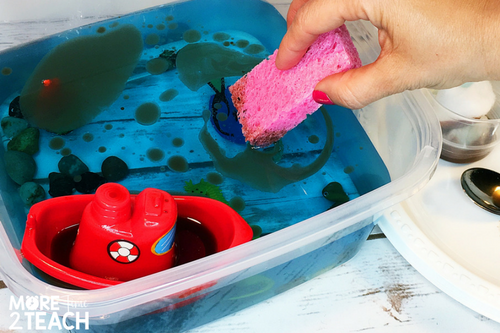
Have students tip the boat over spilling ALL the crude oil into the crystal blue ocean waters Your kids will probably start talking about how the oil is “sticking together” and about “how easy it’s going to be to pick up”!… YEA, THAT’S WHAT YOU THINK!!!

The Pick-Up Process Begins:
Start off by having students predict which tool they think is going to do the best job removing oil from the water. Will it be a spoon, cotton balls, or a sponge? Next, let them try with each tool and have them record their findings. Be prepared for many shocked and frustrated faces. If there’s one thing that this experiment shows, it’s that removing oil from water is NOT EASY!!!! As a matter of fact, it seems that the more you try to remove the oil, the more it seems to spread!
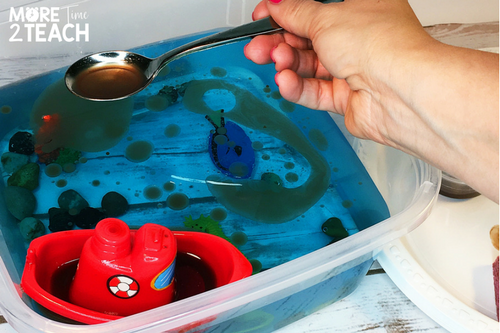
Most kids think that the cotton balls will quickly pick up the mess. Don’t worry, they’ll quickly figure out they need A LOT of cotton balls to soak up small amounts of oil. Don’t forget to ask them to think about how much work would need to go into picking up millions of gallons of oil that spilled into the ocean. Especially since it’s taking them quite a bit of cotton balls!

The sponge is not much better either! As a matter of fact, it seems that every time the sponge gets close to the oil, it moves away. So an effect of trying to pick up the oil is that it spreads even further #ohno

Optional Activity:
Once your kiddos have had fun experimenting with cleaning up an oil spill, why not give them an opportunity to see how the oil spill affects animals, right? Using the same dirty water from the experiment above, give students a feather or piece of animal fur. Have them brainstorm ways to remove the oil from the animal’s skin. Then hand them a paper towel and let them try wiping the oil away. Talk about what they notice… Is it working? Finally, mix a few drops of Dawn dishwashing soap into a bowl of clean water and let them run the feather or fur through the soapy water. Did that help any? If anything, this experiment will be a big eye-opener for your kiddos!
I hope you give this experiment a try… It’s sure to be a crowd pleaser, and your kiddos will walk away with a new respect for taking care of our planet’s water!
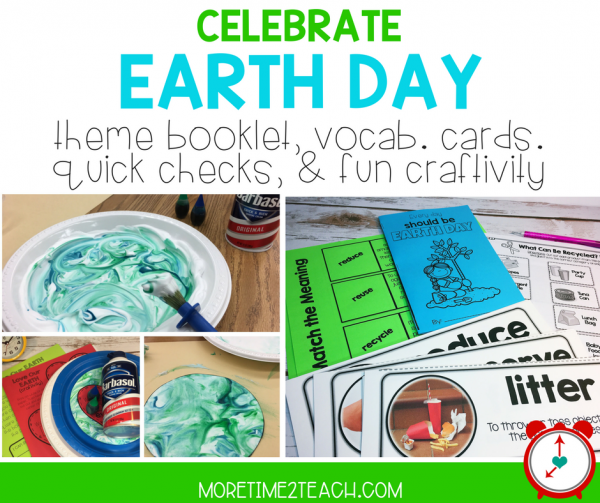
If you’re looking for a unit to use during Earth Day or simply to teach your kiddos how to take care of our lovely blue planet, no need to look any further! I use this every year and it’s been a HUGE hit!!!
It includes a 7 page booklet with informational text that covers topics such as “Why Love Our Earth”, “What is Earth Day?”, “Reduce-Reuse- & Recycle”, “How Does Recycling Work?”, “What Can Be Recycled?”, “What Can YOU Do?”, and “How Will YOU love the Earth?”
It also includes Quick Checks that can be used throughout the unit to assess students learning and understanding… I tell you this resource has it all!
Vocab. cards with real-life pictures bring everything to life and encourage kids to make connections with the real world…
Finally, if you need a last minute Earth Day project, nothing beats an art project with SHAVING CREAM! If you’ve never done it before, you don’t know what you’re missing!!! Not only does it make beautiful artwork, but your class will be left smelling wonderfully fresh #bestsmellever





4 Comments
Marlize
April 15, 2018 at 1:19 amDo u have any worksheets to link to this lovely lesson? thank you for sharing, I’m sure my kids will have a lot of fun
Melissa
April 21, 2018 at 8:56 amHi Marlize-
I’ve added a 3-page lab sheet that you can use… The last page is a discussion/ question and answer sheet that should get your kids thinking once they’ve completed the lab.
Hope they absolutely love this lesson as much as mine have :0)
Let me know if you have any questions.
Good luck,
Melissa
Regina
January 4, 2019 at 12:21 amHi Melissa,
Where can I find the worksheet for this activity? I really think this is a great experiment for kids to learn about the effects of water pollution! Great experiment!
Melissa
January 13, 2019 at 2:44 pmHi, Regina :0)
If you look in the post you’ll see a box where it asks if you’d like to download a copy of the experiment. Just enter your email and it’ll be sent right to your inbox.
Hope this helps!!!