Grading is one of those tasks we have a love-hate relationship with… There’s nothing better than grading students work and seeing how far they’ve come. At the same time, there’s nothing worse than having a stack of papers sitting on your desk screaming GRADE ME … GRADE ME!!!!

Here’s a list of 5 mistakes I’ve made throughout the years and what I’ve learned works
Grade Tests One By One:
DO NOT grade one student’s test from start to finish! Instead, grade page 1 of ALL your students’ papers, then flip and grade all page 2’s, and so forth. Grading one page at a time is quicker than grading an entire test. You can grade faster with this method because you only have to remember a small group of answers at a time like ABDD, ABDD, ABDD, ABDD… This means there are fewer chances of making any mistakes. By grading one page at a time you’re also more likely to spot tricky questions. When you continuously mark the 3rd question on page 2 wrong you know somethings up.
Skip Correct Answers:
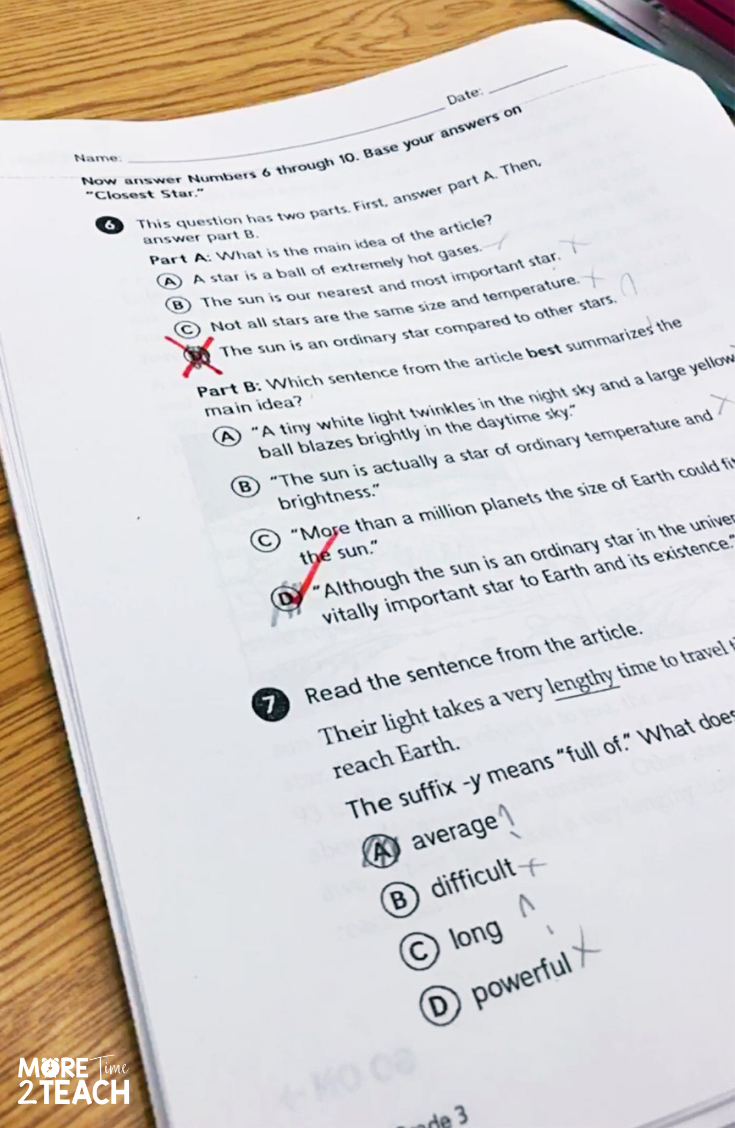
Do not skip over answers that are correct. When grading papers, place check marks on correct answers in addition to placing an X on wrong answers. You’re probably wondering why you should do both? Well, it’s very hard to tell if a question has been scored if it has no X or ✓. By placing a checkmark on each correct answer, parents and students know for certain that you’ve checked their paper. It also helps if you have to stop in the middle of grading and pick it up the following day. Without ✓’s or X’s, it’s difficult to tell where you left off. Basically, every question on a test should have either an X or a ✓.
Mark Correct Answers On The Test:
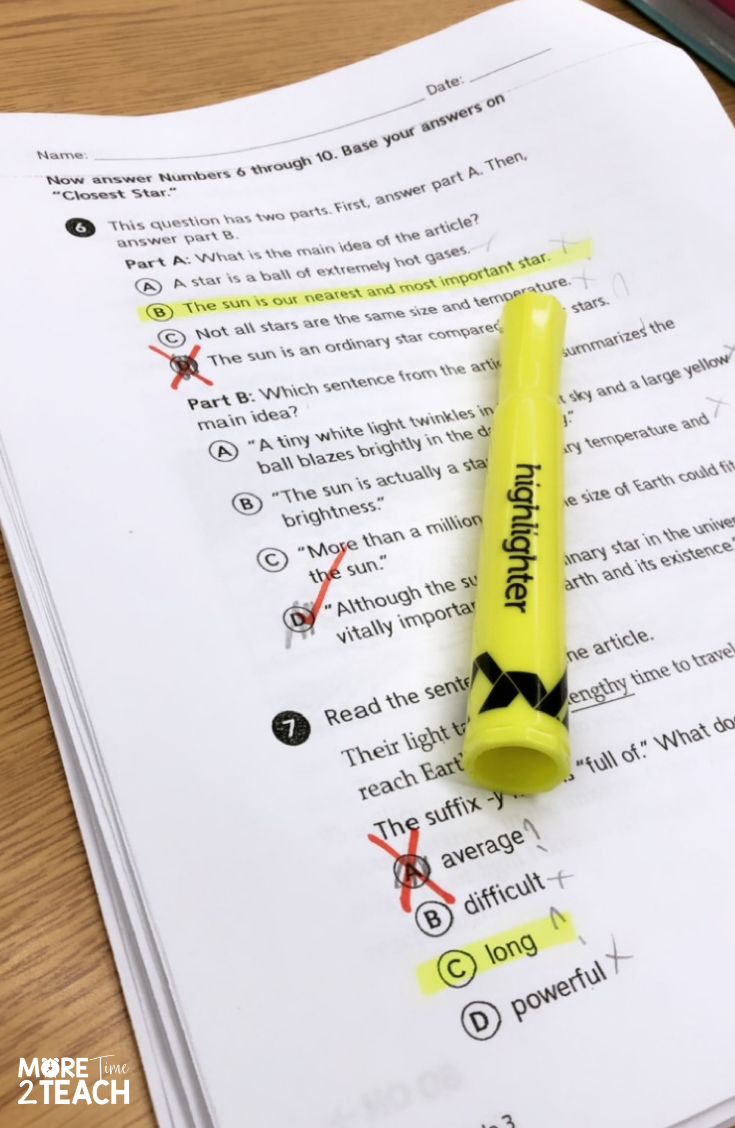
Many teachers I know like to circle the correct answers on tests. Don’t do this! I know we’d like to believe that our students go through their tests looking for mistakes they’ve made. We also like to think that by marking the right answers for them we’re actually helping them. But we’re not! Instead of circling correct answers, place an X on the student’s incorrect answer choices. DO NOT circle or mark the correct answers. Make a point to plan some time to go over tests with the class or in small groups. At this time, have your STUDENTS mark the right answers by highlighting them. Not only do students love using highlighters, but this is also a great way to show parents that you reviewed the test in class. This is also a great time for you to address any misconceptions or common errors your students are making.
Record Test Scores Directly Online:
I remember when I first started teaching and we kept all grades in a paper bound grade book. Well, those days are long gone. Everything nowadays is electronic. Which I actually L-O-V-E! There’s nothing more beautiful than a computer that can calculate a student’s average the minute you enter a new grade. Gone are the days of teachers spending hours with a grading calculator manually inputting every.single.grade praying they don’t make a mistake. So I’m the first one to say that technology is great… WHEN IT WORKS!
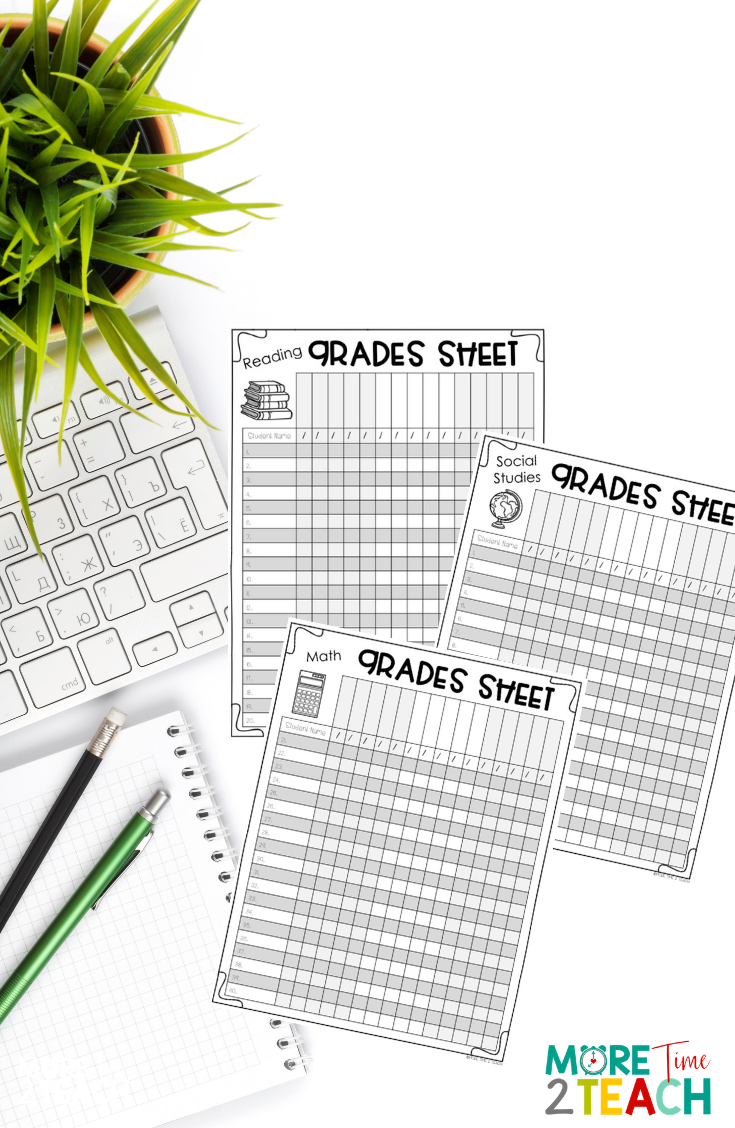
That’s why I recommend that you record all of your grades on paper first. Then transfer it to the electronic grade book. Having a hard copy is a MUST. If you have a parent meeting and the internet is down, you won’t go into panic mode if you have a hard copy. I can’t tell you how many times a student was withdrawn from my class and I was asked to provide a copy of their grades. With a hard copy, that’s not a big deal. If something happens to the electronic grade book you’re covered. It’s better to be safe than sorry. There’s nothing more time consuming than having to go into your student’s work folder to record each and every grade all over again. Save yourself a headache and just keep a paper copy JUST IN CASE! You’ll thank me for this tip one day… trust me!
>>Click here to download a FREE copy of the grading sheets pictured above<<
Use E-Z Graders:
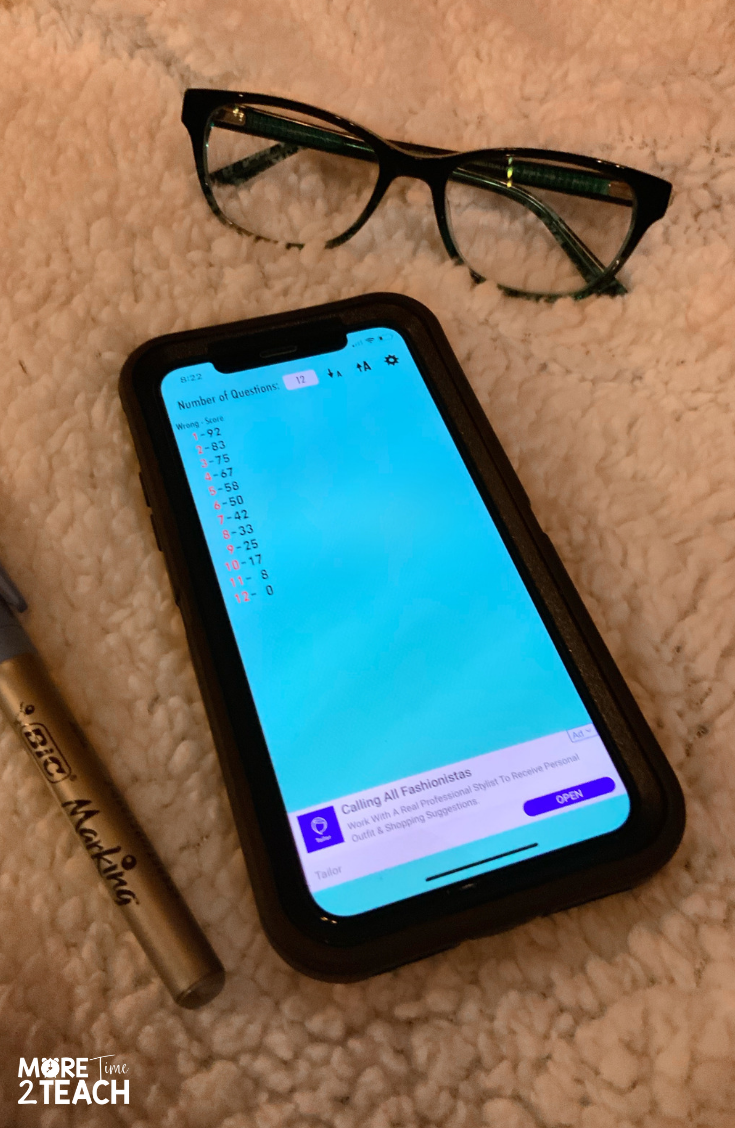
Long gone are the days of searching around your desk for that cardboard rectangle called an E-Z Grader. When you want to figure out the grading scale for a 23 item test just whip out your cell phone and use a free grading app. When you’re juggling being a teacher, mom, wife, sister, etc… you’ve got to simplify your life or you’ll go crazy! Having a grading app means you don’t have to worry about packing up or losing something else. Our phone is always handy and there are quite a few free grading apps to choose from. I’ve been using the Groovy Grader (pictured above) for a few years now and love it. It’s very user-friendly and quite similar to the old-fashioned E-Z grader.
Hope you’ve found these grading tips helpful. If you have any more suggestions to add to the list I’d love to hear from you in the comments below.



No Comments