 Hi there friends! I’m so excited to share with you a SUPER COOL experiment we did this week using M&M’s. (The fact that we used candy in science makes it so much cool-er…)
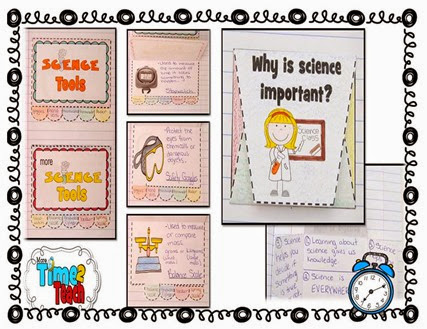
 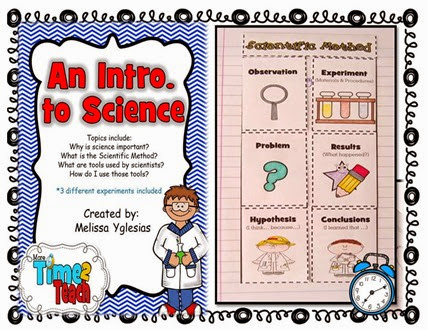 After using my Intro. to Science Unit to teach my kiddos all about the Scientific Method and the different tools scientists use, I decided that we were ready for our first real lab. The kids were ECSTATIC yesterday when I told them that we were finally ready for our first experiment of the year! I wish you could have seen their faces and their reactions when they saw the beakers, hand lenses, stopwatches, cups, and M&M’s. And of course I was overjoyed to hear them identifying the tools they saw to their friends. Especially after we had made these science tools tab books.
 Our problem statement read: What happens when different colored M&M’s are placed into water?
 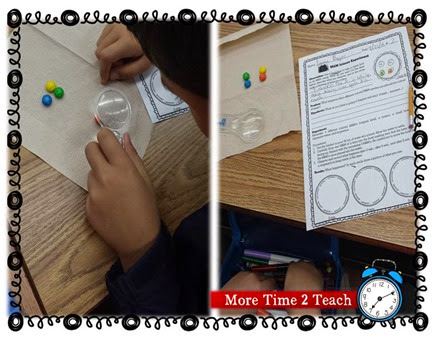 The students began by observing their M&M’s using a hand lens and many of them were surprised to see that the white letter M was made up of many white dots grouped together. Some even noticed white spots on their candies that they decided was part of the M that had probably rubbed off.
 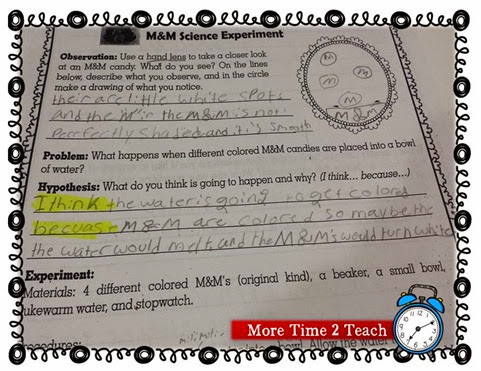 After observing, they wrote their hypothesis following the pattern “I think… because…” I like using this sentence frame because it encourages students to explain their thinking. Most of them want to stop with the “I think”, but struggle with the “because”. I’ve noticed that students have a tough time explaining why they think a certain way. Next, it was time for the FUN PART… the EXPERIMENT… We had a blast observing and recording the changes our M&M’s were going through. Every 3 minutes we stopped to record what our cups looked like… This is what we saw …
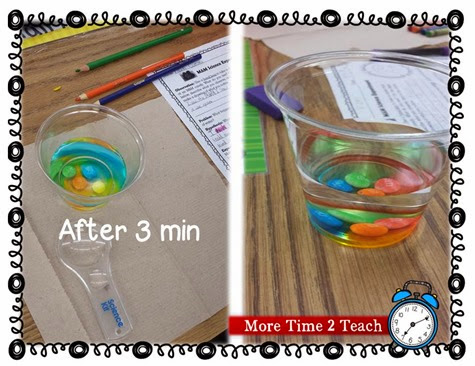 Ooohhh…Ahhhhh… Then …
 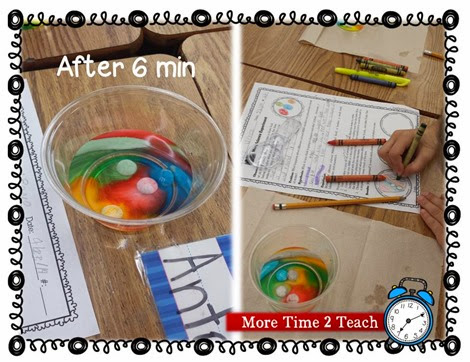 “What happened to all the color on the M&M’s?” Finally,…
 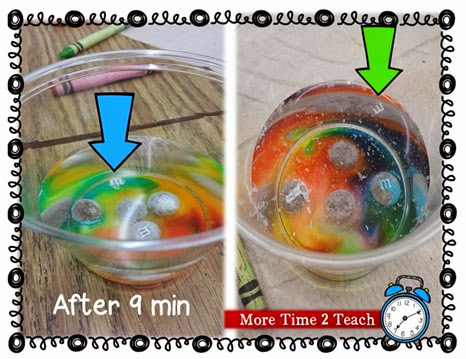 Can you see it? Do you see how the M&M starts to lose it’s color and then eventually my favorite part happens… The M begins to slip off of the candy and slowly floats towards the top of the cup! It never ceases to amaze me :0) We weren’t done just yet. We still had to write our conclusions…
 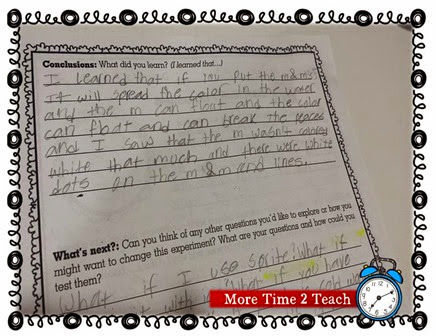 We ended with “What’s Next?” where the students record what further questions they might have after conducting the experiment or what might they try differently next time.
 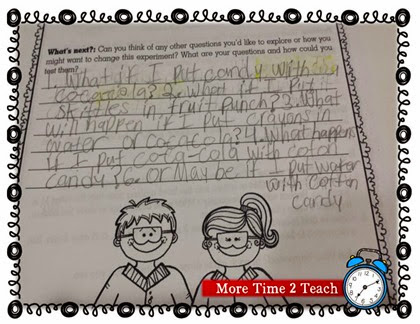 Check out the neat idea my kiddo had. She seems to be a natural scientist. She’d like to see what happens when you put Coca Cola with cotton candy. I’d like to find out too, as a matter of fact! I’ll keep you posted… If you haven’t started experimenting yet, take my advice and try this one out with your munchkins. It’s sure to be a crowd pleaser not to mention a teacher pleaser as well. (wink, wink) Have you tried any experiments with your students so far this year? If so, then please share. I’m always looking for new experiments. They’re just SO MUCH FUN!!!!!!
Miscellaneous
Cool M&M Experiment
Previous Story
Quick Magnet Trick
Quick Magnet Trick
Next Story
Class Dojo
Class Dojo

1 Comment
Becky
September 25, 2014 at 4:38 amGreat resource! Thanks for sharing about it!